


Setting up a new printer can feel confusing at first, but once you understand the steps, the process becomes much easier. If you’ve just purchased a new Lexmark device and are wondering how to SetUp Lexmark Printer correctly, this guide will walk you through it in a simple and professional way. The goal here is to help you go from unboxing to your first printed page without stress, whether you’re using the printer at home or in a small office.
Unboxing and Preparing Your Lexmark Printer
The very first step in the SetUp Lexmark Printer process is unboxing and preparing the device properly. Carefully remove the printer from the box and make sure you also take out all accessories such as power cable, documentation, and installation CD or quick-start guide if provided. Before turning anything on, remove all protective tapes, plastic covers, and packaging materials from the outside and inside of the printer. Open the scanner lid, cartridge area, and paper trays to confirm that no foam blocks or cardboard pieces are left inside. Place the printer on a stable, flat surface close to a power outlet and, if you plan to connect via Wi-Fi, ensure it’s within a reasonable range of your wireless router so you don’t face connectivity issues later.
Powering On and Basic Initial Setup
Once the printer is physically ready, you can move to the next phase of the SetUp Lexmark Printer journey: powering it on and completing the basic configuration. Plug the power cable into the back of the printer and then into a wall socket or surge protector. Press the power button and allow the printer to start up fully. On most modern Lexmark models, you’ll see a setup wizard or initial configuration screen. Here, you will be asked to select your language, country or region, date, and time. These options might feel minor, but they help the printer work properly with your local formats and time stamps. Use the touch screen or navigation buttons to confirm each setting. Once done, the printer will usually prepare itself for cartridge installation and paper loading, guiding you step by step on its display.
Installing Ink or Toner Cartridges Correctly
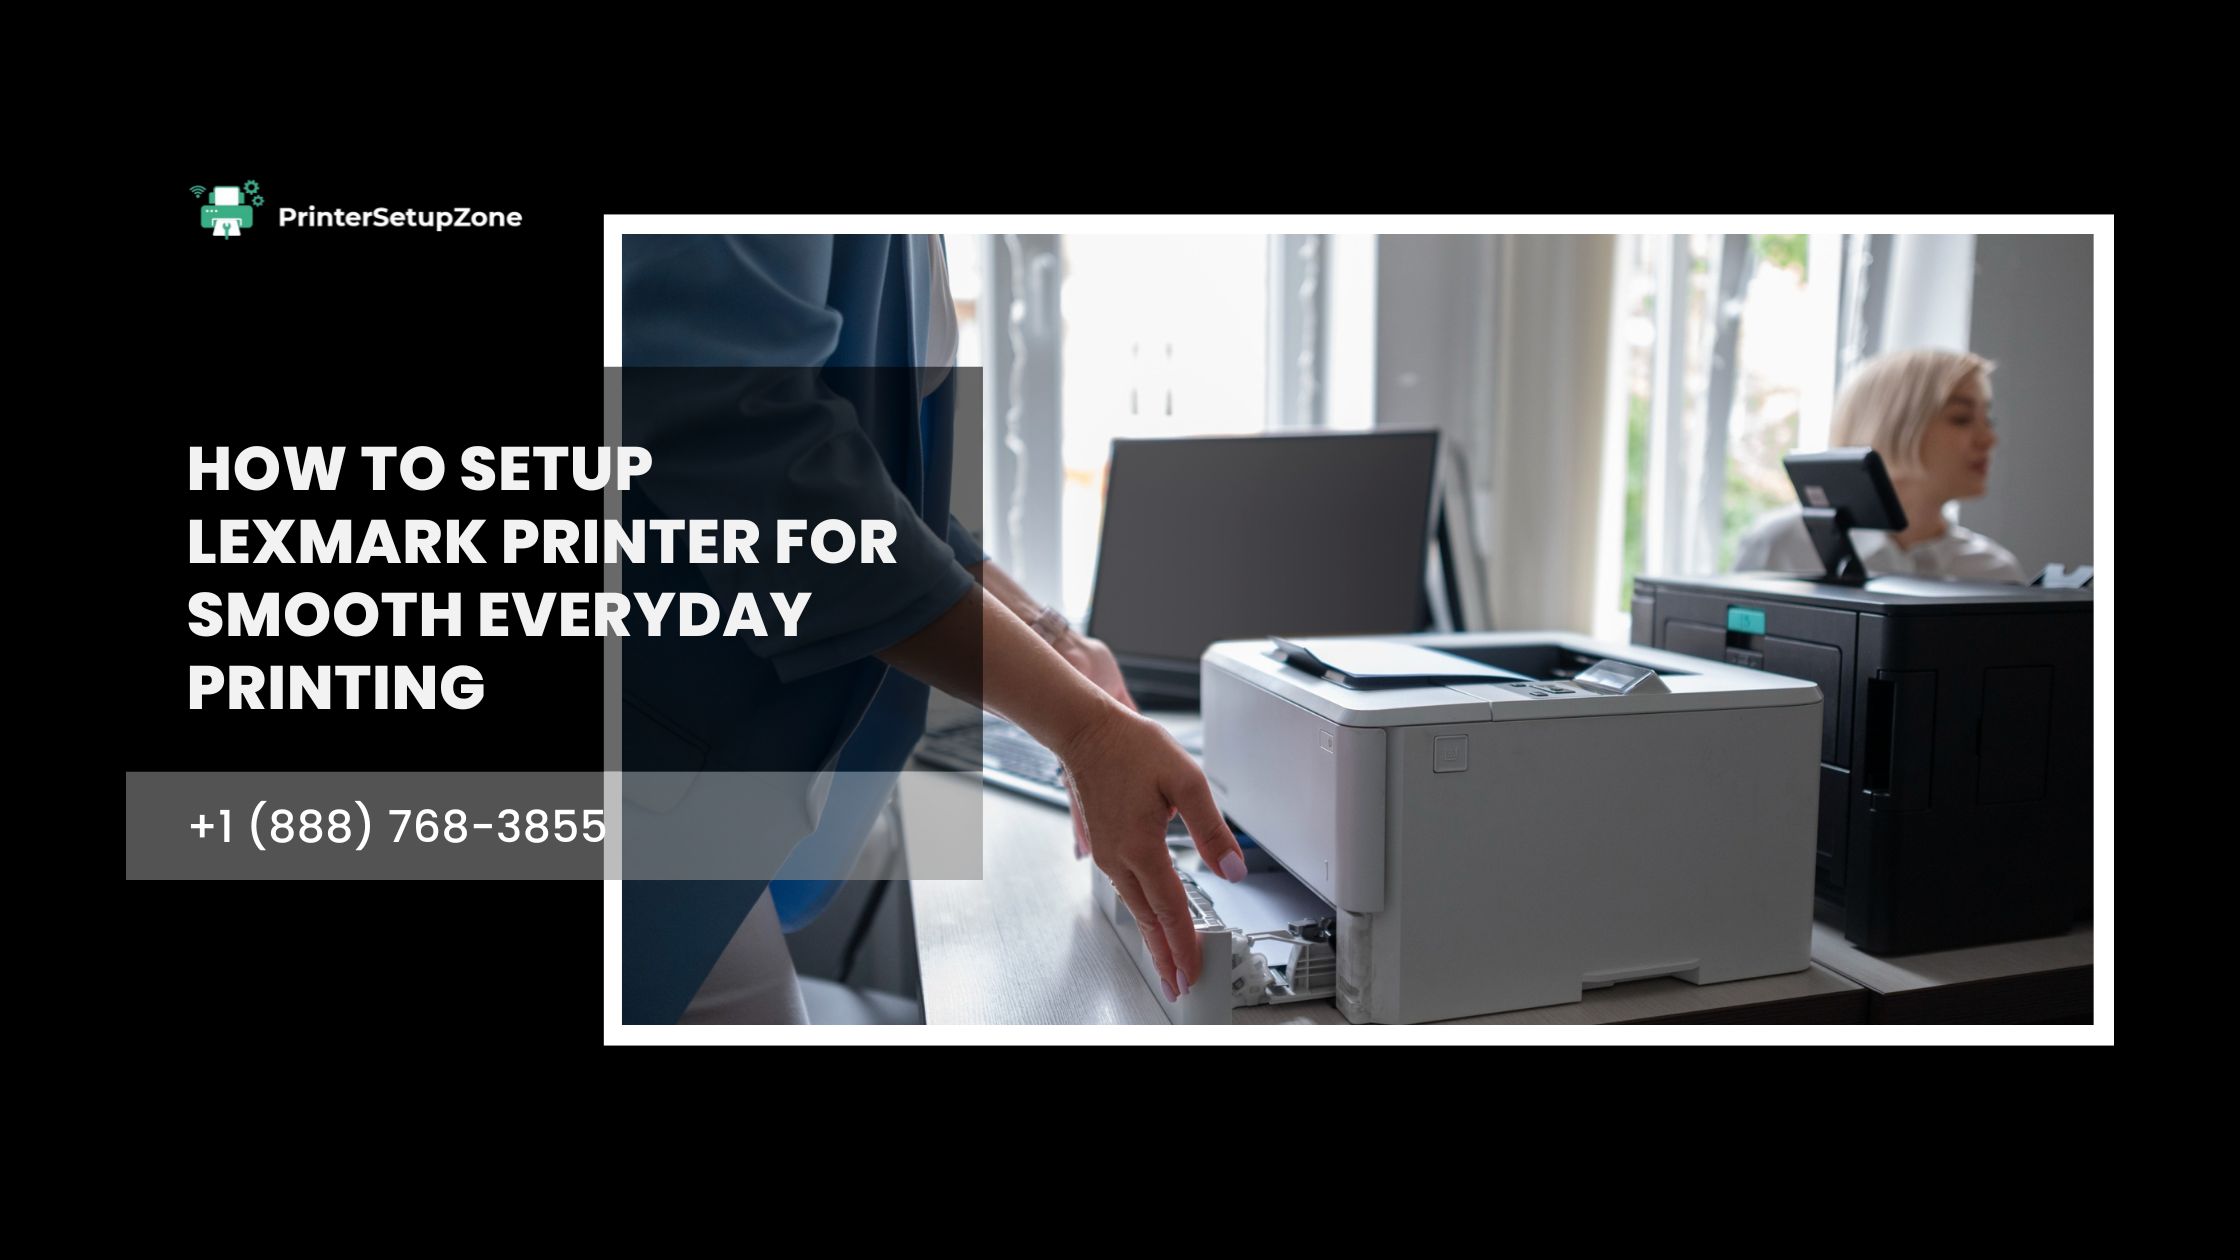
A crucial part of the SetUp Lexmark Printer process is installing the ink or toner cartridges the right way. Open the cartridge access area as shown in your quick-start guide or on-screen instructions. Remove the cartridges from their packaging and gently peel away any protective tape, film, or seals from the nozzles or contacts. It’s important not to touch the copper or gold contacts or the ink nozzles, as this can damage the cartridge or impact print quality. Insert each cartridge into the designated slot, making sure you match the colors or labels correctly. Push them in until they click into place. Close the cartridge cover and wait for the printer to detect and initialize them. Some printers may automatically begin an alignment process or ask you to confirm that new cartridges have been installed. Follow any prompts on the display to complete this step and ensure optimal print quality from the start.
Loading Paper into the Paper Tray
Now that your cartridges are installed, the next step to SetUp Lexmark Printer is loading paper, which seems simple but needs to be done carefully. Pull out the main paper tray from the bottom or back, depending on your printer model. Adjust the paper guides inside the tray to match the size of the paper you are using, such as A4, Letter, or Legal. Place a neat stack of plain, good-quality paper into the tray, making sure the stack is not bent, curled, or overfilled. The paper should sit flat and stay below the maximum fill line. Gently slide the paper guides so they lightly touch the edges of the paper without squeezing it. Push the tray back into the printer until it clicks or closes completely. Proper paper loading helps prevent issues such as paper jams, crooked printing, or multiple sheets feeding at once.
Choosing Between USB and Wireless Connection
With the hardware side ready, the next important part of the SetUp Lexmark Printer process is deciding how you want to connect the printer to your computer or network. There are two common options: a direct USB connection or a wireless (Wi-Fi) connection. If you prefer something simple and direct, USB is a good choice. All you need to do is connect one end of a compatible USB cable to the printer and the other end to your computer. For many operating systems, the basic driver may install automatically. However, for full features and better performance, you should still download and install the official Lexmark software. If you want the flexibility to print from multiple devices—such as laptops, phones, or tablets—then a wireless setup is ideal. On your Lexmark printer’s control panel, open the Network or Wi-Fi settings menu, search for your Wi-Fi network name, select it, and enter the Wi-Fi password carefully. Once the printer confirms it is connected, you are ready to complete the rest of the setup on your computer or mobile devices.
Installing Drivers and Software on Your Computer
To fully SetUp Lexmark Printer and unlock all its features, installing the correct drivers and software on your computer is essential. On your PC or Mac, open a web browser and go to the official Lexmark support website. There, search for your exact printer model and choose the driver package that matches your operating system version. Download the recommended full driver and software suite rather than just a basic driver, especially if you want to use scanning, maintenance tools, or advanced print options. Once the file is downloaded, run the installer and follow the on-screen instructions. During installation, you will usually be asked how the printer is connected: USB, wireless, or network. Select the correct option and allow the installer to detect and configure your printer. When the installation is complete, you may be prompted to print a test page to confirm everything is working properly. Printing this test page is a good way to verify that your SetUp Lexmark Printer process has been successful and that your printer communicates correctly with your computer.
Setting Up Mobile Printing and Cloud Options
In today’s world, many people like to print directly from their phones or tablets, so adding mobile options can enhance your overall SetUp Lexmark Printer experience. Depending on your printer model, you may be able to use apps like Lexmark’s own mobile printing application, Apple AirPrint on iOS devices, or Mopria / Google Print-like solutions on Android. Ensure that your phone and printer are connected to the same Wi-Fi network. Then, open your document or photo, choose the Print option, and look for your Lexmark printer in the device list. You might need to install a small app or plugin from your device’s app store to make this work smoothly. Once configured, mobile printing can save time and make your printer much more convenient for everyday use.
Running a Test Print and Basic Troubleshooting
After you SetUp Lexmark Printer, it is always wise to run one or two test prints to make sure everything is functioning correctly. Print a simple text document first to check for clear, sharp letters with no streaks or missing lines. Then, if your printer supports it, print a color page or image to verify the colors are accurate and well-aligned. If you notice any minor quality issues, use the printer’s built-in maintenance tools—such as printhead cleaning or alignment—found in the settings or tools menu. If the printer is not detected by your computer, double-check your USB cable, Wi-Fi connection, and driver installation. In most cases, restarting both the printer and the computer resolves small communication glitches. Keeping your drivers updated and using the official Lexmark tools will help prevent issues in the long run.
Final Thoughts
Setting up a printer doesn’t have to be stressful or time-consuming. When you follow a clear and logical sequence—unboxing, powering on, installing cartridges, loading paper, choosing a connection type, installing drivers, and running test prints—the entire SetUp Lexmark Printer process becomes straightforward. Take your time with each step, pay attention to the on-screen instructions, and don’t skip the test print at the end. Once everything is in place, your Lexmark printer will be ready to handle your everyday printing tasks reliably, whether it’s for home use, school assignments, or small office work.